What is OpenAI Agent SDK Swarm?
If you are willing to learn about Agentic AI, you need to start your journey through OpenAI Agent SDK. Here is the first topic of the series, OpenAI Agent SDK Swarm. Simply the Swarm in the OpenAI Agent SDK team is like a team of AI Helpers.
OpenAI Agent SDK Swarm is a system, which is a framework used:
- Developing a special AI agent.
- Allotting them a position in the work
- Allowing them to communicate in order to accomplish a greater goal
Consider it to be a distributed team of AI experts. You assign them with the project and they do the rest.
📷 Image 1:
openai-agent-sdk-swarm-architecture.png
Alt text: “Diagram showing how OpenAI Agent SDK Swarm AI agents communicate to complete tasks”
Why OpenAI Agent SDK Swarm Matters in 2025
Today the modern AI world demand for the OpenAI Agent SDK swarm because:
- Quicker turnaround times → You are faster, and you do all your tasks in no time e.g. you do not have to wait in that long queue to get a coffee at the cafe because you placed an order.
- Reduced prices → Reduced prices means that you will save your money, such as a reduced price of a pair of shoes you need but available at a reduced price.
- Better accuracy → Reduction in errors, such as re-reading over a text message so you do not make a fool of yourself.
By letting AI agents work in parallel, Swarm saves hours and reduces manual work. It’s being used for:
- Automated content pipelines
- Customer support
- Research assistants
- Workflow automation
Hands-On Project: Your First OpenAI Agent SDK Swarm
For this example, I will make three agents: a researcher, a writer, and an editor. They’ll work together to create a blog post.
📷 Image 2:
openai-agent-sdk-swarm-installation.png
Alt text: “Terminal screenshot showing installation of OpenAI Agent SDK Swarm in Python”
Before You Start Setting Up Your Environment
Prior to starting to install the OpenAI Agent SDK Swarm, we need to prepare everything.
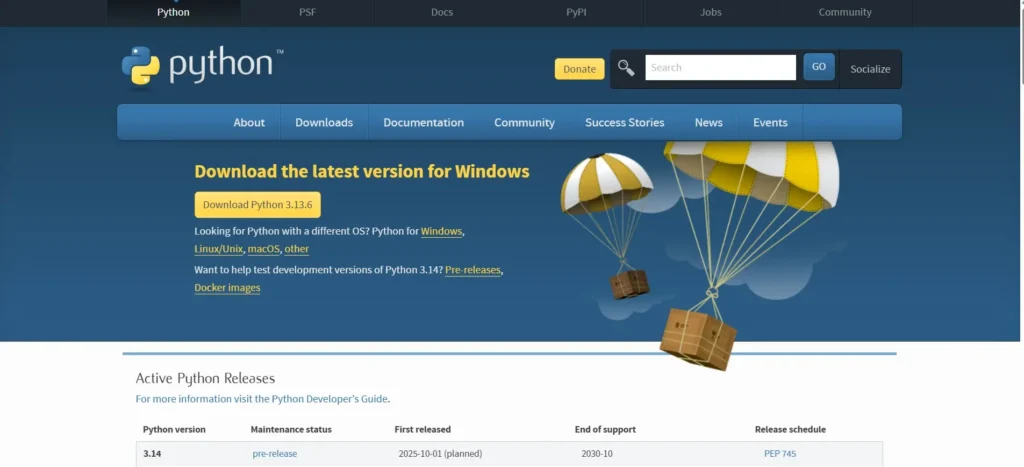
1. Install Python
Visit python.org/downloads
Install Python 3.9 or above.
Make sure that you ensure that you click on the option of adding python to PATH when installing.
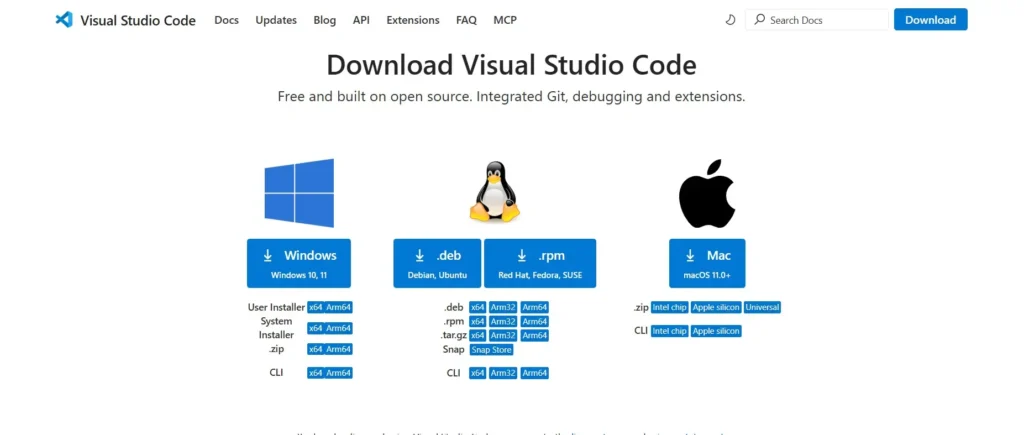
2. Do this by installing VS Code (Optional yet Highly recommended)
Get the code.visualstudio.com
3. Start a Terminal or Command Prompt
Windows: Go to the windows, press Win + S, enter a command line, press Enter.
Mac: Command + space, write terminal and press Enter.
4. Make Project Folder in command prompt
mkdir openai-swarm-demo
cd openai-swarm-demo
5. (Optional) DEVELOP A Virtual Environment
python -m venv venv
Activate it:
Windows: venv\Scripts\activate
Mac/Linux: venv/bin/activate
Ok. So now you are all ready on working for the OpenAI Agent SDK Swarm
Project Structure in VS Code
📷 Image 2: Folder structure diagram
Alt text: “Diagram showing recommended folder structure for OpenAI Agent SDK Swarm project in Python”
openai-swarm-demo/
│
├── venv/ # Virtual environment (optional but recommended)
├── agents/ # Folder to store agent scripts
│ └── agents.py # Python file defining your agents
├── main.py # Main script to run the swarm
└── requirements.txt # Python package list
Step-by-Step: Your First AI Agent Swarm ProjectStep 1 — Install the SDK
pip install openai-agents
This grabs the OpenAI Agents SDK, which is the modern toolkit for creating “teams” of AI models that work together.
Think of it like hiring a set of very smart interns who can talk to each other. This command installs the brainpower.
Then we give them the keys to your account (your OpenAI API key), so they can actually talk to the AI models:
# mac/linux
export OPENAI_API_KEY="sk-your-key"

# windows powershell
setx OPENAI_API_KEY "sk-your-key"
Without the key, it’s like hiring your interns but locking them outside the office — they can’t do anything.
Step 2 — Project Structure
openai-swarm-demo/
│
├── venv/                      # optional - a safe bubble for your Python stuff
├── agents/
│   └── agents.py               # where we define each team member (agent)
├── main.py                     # the project’s “director” script
└── requirements.txt            # list of packages needed
We’re just organizing our workspace.
agents/is like your HR department — where you write down each team member’s role.main.pyis the boss that tells the team what the project is.venv/keeps all your packages in a neat little bubble so they don’t mess with other projects.
Step 3 — Defining the Agents (agents/agents.py)
from openai_agents import Agent, ModelSpec, Tool

# Optional: a dummy research tool
def search_openai_news(_: str) -> str:
    return "Latest news: OpenAI Agents SDK supports multi-agent orchestration in 2025."

research_tool = Tool(
    name="search_tool",
    description="Searches for latest news about OpenAI Agent SDK Swarm.",
    call_fn=search_openai_news
)
Here, Tool is like a gadget your agent can carry around. This one is a fake “search tool” that always returns a pre-written news update. In a real project, this could call Google, scrape a website, or query a database.
researcher = Agent(
    name="Researcher",
    description="Finds the latest news on OpenAI Agent SDK Swarm.",
    model=ModelSpec(model="gpt-4o-mini"),
    tools=[research_tool]
)
- Researcher = team member whose job is to go out, find information, and bring it back.
- Uses a GPT-4o-mini brain (fast and cheap).
- Has the search tool so they can look things up.
writer = Agent(
    name="Writer",
    description="Writes a blog post based on research provided.",
    model=ModelSpec(model="gpt-4o-mini"),
)
- Writer = takes the research and turns it into a readable blog post.
- No extra tools here — just writing skills.
editor = Agent(
    name="Editor",
    description="Edits and improves the blog post.",
    model=ModelSpec(model="gpt-4o-mini"),
)
- Editor = proofreads, fixes grammar, and makes it sound polished.
Step 4 — Orchestrating the Team (main.py)
# Mock Orchestrator and Handoff classes for demonstration purposes
class Handoff:
    def __init__(self, from_agent, to_agent):
        self.from_agent = from_agent
        self.to_agent = to_agent

class Orchestrator:
    def __init__(self, agents, handoffs, max_iterations=5):
        self.agents = {a.__name__: a for a in agents}
        self.handoffs = handoffs
        self.max_iterations = max_iterations

    def run(self, user_message):
        state = user_message.copy()
        agent_order = [h.from_agent for h in self.handoffs] + [self.handoffs[-1].to_agent]
        for agent_name in agent_order:
            agent_func = self.agents[agent_name]
            state = agent_func(state)
        return state

# Define agents
def researcher(state: dict) -> dict:
    topic = state.get("topic", "unknown")
    research = f"Researched facts about {topic} for Bingzr."
    return {**state, "research": research}

def writer(state: dict) -> dict:
    research = state.get("research", "")
    draft = f"Draft article based on research for Bingzr: {research}"
    return {**state, "draft": draft}

def editor(state: dict) -> dict:
    draft = state.get("draft", "")
    final = f"Edited and polished version for Bingzr: {draft}"
    return {**state, "final_article": final}

# Define handoffs
handoffs = [
    Handoff(from_agent="researcher", to_agent="writer"),
    Handoff(from_agent="writer", to_agent="editor"),
]

# Create orchestrator
orch = Orchestrator(
    agents=[researcher, writer, editor],
    handoffs=handoffs,
    max_iterations=5
)

# Run orchestrator
result = orch.run(user_message={"topic": "OpenAI Agent SDK Swarm"})

print("\n=== Final Output ===")
print(result["final_article"])
We bring in our three agents so we can get them working together
Handoff = tells the system who talks to who next.
- Researcher → Writer (once research is done, pass it to the writer)
- Writer → Editor (once writing is done, pass it to the editor)
The Orchestrator is like the project manager — it makes sure agents take turns, follow the handoffs, and don’t get stuck in infinite loops.
The team works through the chain until the Editor finishes and hands it back to you.
You, the human, tell the orchestrator what the final goal is.
It sends that request to the first agent (Researcher), who does their job and passes it on.
simply:
You’ve just built a mini AI newsroom:
Editor makes it shine.
The orchestrator keeps them all in order, and the handoffs make sure nobody talks over each other.
Researcher finds facts.
Writer creates the article.
Want to learn about Agent Architecture? Click here
FAQ
Q: Does OpenAI Agent SDK Swarm cost?
Not exactly. You would require an OpenAI API key and that is subject to use costs. Consider it as paying your electricity bill- you have to pay what you consume but when you leave all the lights on, it may be a problem.
Q: What does SDK stands for
It stands for Software Development Kit
Q: Do I have to be a Python expert?
Nope! Assuming that you are familiar with basics, such as how to run a Python file, how to install a package, and how to read small chunks of code, you are good to go. This step by step guide takes your hand step by step.
Q: May I apply this to business?
Yes! It is possible to automate research, writing activities, content editing, customer support, and several others. Simply watch how much of it you use so you do not end up getting any of those surprise charges.
Q: What is its set up time?
Accepting that you may already have Python installed, the basic example can be made to run in less than 10 minutes. It does not take as long as preparing instant noodles (which is also less messy).
Q: Do I require special hardware?
Nope–as long as you have Python compatible computers, you are good. You do not require expensive graphics cards or massive memory. This is functioning on normal laptops and desktops.
Q: What does the Swarm part mean?
It is simply a cool team name hit by AI agents. We could assume a group chat scenario whereby one member of the group conducts research, another member writes and another member edits without exception they are all AI.
Conclusion
The Swarm changes the way we build workflows powered by AI. Many agents work together as opposed to a single model doing everything-as humans would in a team.
Using this guide, you have come to understand how to:
- Installation of SDK
- Design industry-related agents
- Operate them as a hive mind
Next Step:
Want to know about Agentic AI?? What is Agentic AI? A New Era in Technology
Call to Action
Do you like this project and want to make more projects like this? Bookmark this website Bingzr AI Tutorials and check back daily for a new coding guide.